
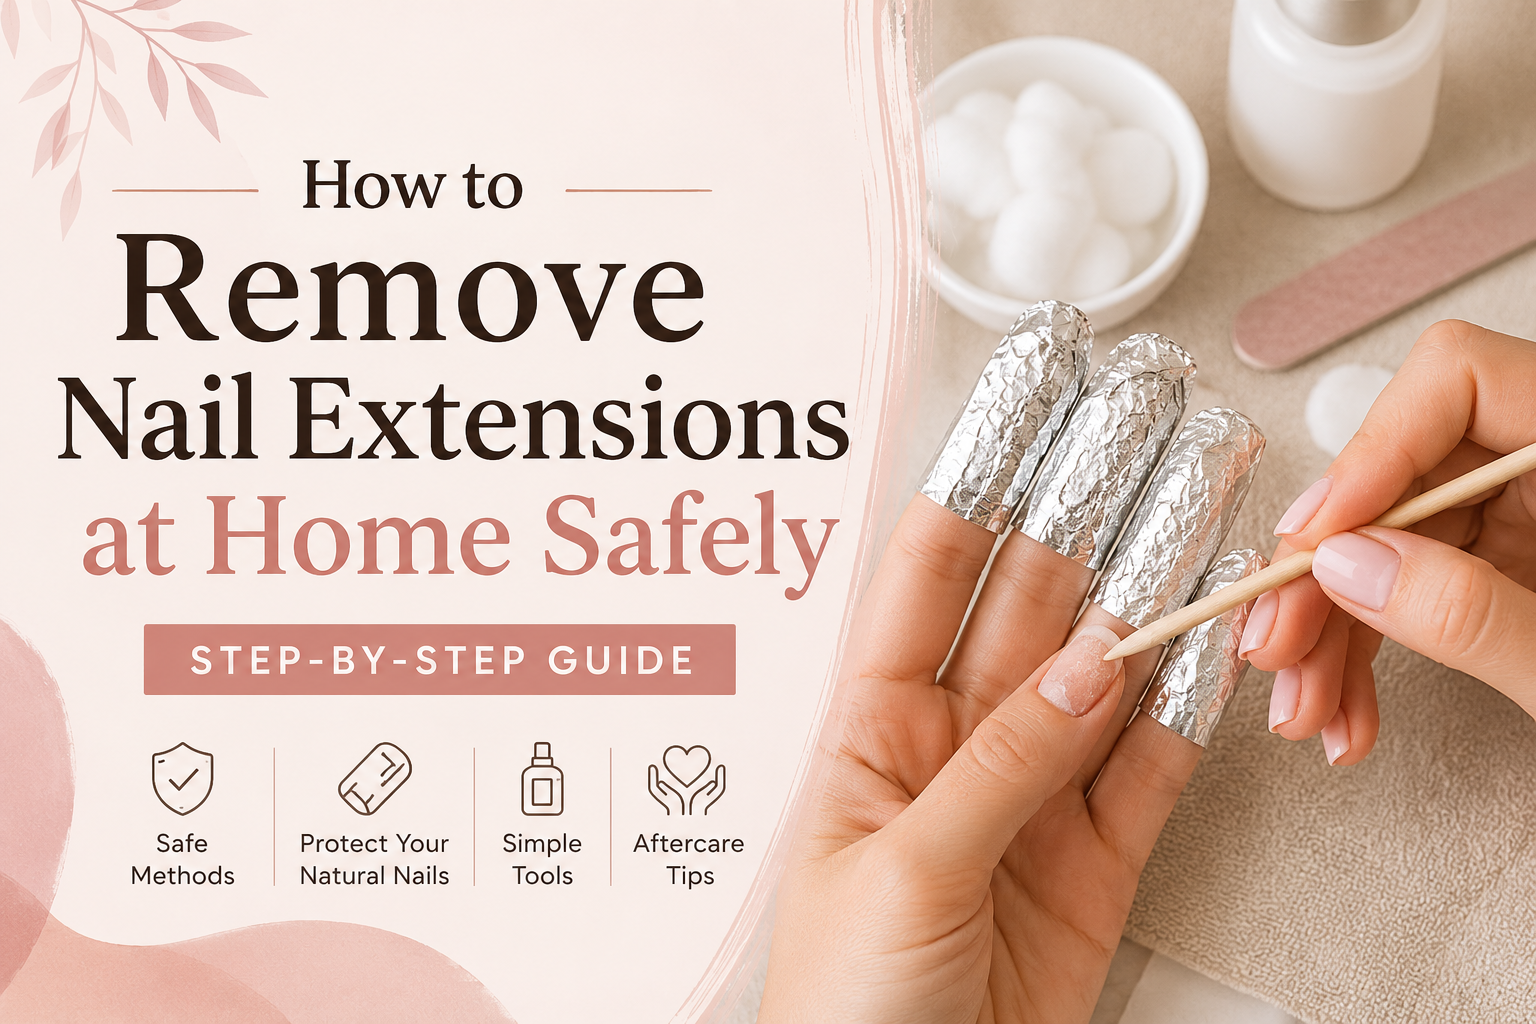
Nail extensions instantly elevate your style, but as they grow out, start lifting, or simply reach the end of their lifespan, figuring out how to take them off can be tricky. When you don’t have time to visit a salon, learning how to remove nail extensions at home safely is essential to protect your natural nails underneath.
The biggest risk during at-home removal is impatience. Ripping, peeling, or prying off extensions can tear away the delicate top layers of your natural nail plate, leaving them thin, brittle, and sensitive.
Can you safely take them off yourself? Yes, you can remove nail extensions at home, provided you use the right technique for your specific enhancement system—whether you have acrylics, soft gel, hard gel, or polygel.
This comprehensive guide walks you through the safe nail extension removal process step-by-step, highlights crucial do’s and don’ts, and helps you identify when it is better to leave removal to a professional technician.
Quick Takeaway: Can You Remove Nail Extensions at Home?
The Short Answer: Yes, soak-off extensions like acrylics, soft gel extensions, and certain polygel formulations can be safely removed at home using 100% pure acetone and careful filing.
However, hard gel extensions do not dissolve in acetone and must be carefully filed down—a process best handled by a professional to avoid thinning your natural nail plate. If you experience persistent pain, visible infection, or severe lifting, skip DIY methods and seek professional salon removal.
Before You Start: Identify Your Nail Extension Type
Different extension systems are formulated with different chemical bonds. Using the wrong removal method will waste time and risk unnecessary nail trauma.
┌─────────────────────────────────────────────────────────────────────────┐
│                      NAIL EXTENSION REMOVAL MATRIX                      │
├─────────────────────┬──────────────────────┬────────────────────────────┤
│ Extension Type      │ Removal Method       │ Dissolves in Acetone?      │
├─────────────────────┼──────────────────────┼────────────────────────────┤
│ Acrylic             │ Soak-off (Acetone)   │ Yes (softens into a gummy  │
│                     │ + Light filing       │ residue)                   │
├─────────────────────┼──────────────────────┼────────────────────────────┤
│ Soft Gel / Gel-X    │ Soak-off (Acetone)   │ Yes (breaks down and       │
│                     │                      │ flakes off)                │
├─────────────────────┼──────────────────────┼────────────────────────────┤
│ Hard Gel (Builder)  │ E-file / Manual file │ No (impermeable to         │
│                     │ only                 │ acetone)                   │
├─────────────────────┼──────────────────────┼────────────────────────────┤
│ Polygel (Hybrid)    │ Thinning by file +   │ Partially (depends on the  │
│                     │ Acetone soak         │ exact brand formula)       │
└─────────────────────┴──────────────────────┴────────────────────────────┘
- Acrylic Extensions: Created by mixing a liquid monomer and a powder polymer. Acrylic forms a hard, durable layer that dissolves completely when soaked in pure acetone.
- Soft Gel / Gel-X Extensions: Pre-formed full-cover tips made of oligomers. These are formulated specifically to be soaked off with acetone.
- Hard Gel (Traditional Builder Gel): A tightly cross-linked polymer network that creates strong overlays or extensions. Hard gel is non-porous and will not dissolve in acetone. It must be gently filed down, leaving a thin protective layer over the natural nail.
- Polygel (Acrylgel): A hybrid combining the strength of acrylic with the flexibility of gel. Some formulas soak off slowly in acetone after heavy thinning, while others must be filed off.
- Gel Polish Overlays: A simpler, flexible soak-off coating that breaks down quickly after breaking the glossy topcoat seal.
What You Need for At-Home Nail Extension Removal
Before beginning, gather your supplies in a well-ventilated area away from open flames (pure acetone is highly flammable).
Essential Supplies:
- 100% Pure Acetone: Standard non-acetone polish remover is not strong enough to break down acrylic or gel extensions.
- Coarse Nail File (100/180 grit): For breaking the protective topcoat and debulking thick product.
- Fine Grit Buffer (220/280 grit): For smoothing remaining residue without scratching the natural nail.
- Cotton Balls or Cotton Pads: Cut into pieces that fit neatly over the nail plate.
- Aluminium Foil Strips (or reusable soaking clips): To secure the soaked cotton firmly in place.
- Cuticle Pusher (Wooden Orangewood Stick or rounded Stainless Steel): To gently nudge away softened product.
- Nail Clippers: To reduce excess extension length before soaking.
- Petroleum Jelly (Vaseline) or Thick Barrier Balm: To shield the surrounding skin and cuticles from acetone dehydration.
- Nourishing Cuticle Oil and Hand Cream: For deep hydration immediately following removal.
Optional (Helpful) Tools:
- A small glass bowl (if you prefer the direct soak bowl method instead of foil wraps).
- Warm hand towels to place over foil wraps (gentle external warmth speeds up acetone breakdown).
How to Remove Nail Extensions at Home Safely: Step-by-Step
Follow these nine steps for a safe, controlled nail extension removal at home.
  [Step 1] Trim Length
     │
  [Step 2] Debulk Top Layer with 100/180 File
     │
  [Step 3] Apply Barrier Cream to Skin
     │
  [Step 4] Saturate Cotton with 100% Pure Acetone
     │
  [Step 5] Wrap Firmly in Foil (15–20 Mins)
     │
  [Step 6] Gently Nudge Softened Product
     │
  [Step 7] Re-soak Stubborn Layers (Never Force!)
     │
  [Step 8] Lightly Buff Residue with 240+ Grit
     │
  [Step 9] Wash, Cleanse, Oil & Deeply Moisturize
Step 1: Trim the Extension Length
Use a sturdy nail clipper or tip clipper to cut down the free edge of the extension as close to your natural nail tip as comfortable. Removing excess length reduces the surface area you need to file and soak, cutting down removal time significantly.
Step 2: File Down the Topcoat and Bulk
Take your 100/180-grit file and buff the entire surface of each nail. Your goal is twofold:
- Break through the shiny, non-porous topcoat sealant.
- Thin down the bulk of the artificial layer.
Safety Note: File in smooth, deliberate strokes. Stop filing when you approach the thin base layer near your natural nail. Never let the coarse file make direct contact with your natural nail plate.
Step 3: Protect the Surrounding Skin
Acetone is an effective solvent, but it extracts moisture from living tissue rapidly. Apply a generous layer of petroleum jelly or a thick balm around your cuticles, lateral nail folds, and fingertips. Keep the balm on the skin only—avoid getting it on the nail surface, as it will act as a barrier against the acetone.
Step 4: Prepare the Acetone Pads
Saturate a piece of cotton ball or pad thoroughly in 100% pure acetone. The cotton should be wet enough to maintain contact with the nail surface throughout the waiting period without dripping excessively.
Step 5: Wrap and Wait (15–20 Minutes)
Place the soaked cotton directly over the filed extension. Wrap a strip of aluminium foil snugly around your fingertip, folding the top over to create an airtight seal. Repeat on all fingers.
Allow the acetone to work undisturbed for 15 to 20 minutes.
Pro-tip: Resting your wrapped hands inside a warm towel can gently accelerate the chemical breakdown. Never use electrical heating pads, microwaves, or hair dryers, as acetone is combustible.
Step 6: Gently Slide Away the Softened Product
Unwrap one finger at a time to inspect progress. The product should look soft, swollen, and gummy (for acrylics) or flaky and crumbly (for soak-off gels).
Using a wooden cuticle stick or a rounded metal pusher held at a 30-degree angle, gently glide the softened material toward the free edge of the nail. The product should slide off with little to no resistance.
Step 7: Repeat the Soak for Stubborn Layers
If the underlying product remains hard or firmly adhered:
- Do NOT scrape aggressively.
- Do NOT try to pry under the remaining layer.
- Re-saturate the cotton pad with fresh acetone, re-wrap the finger, and wait another 5 to 10 minutes. Removing extensions safely is a gradual, layered process.
Step 8: Smooth Remaining Residue
Once the bulk of the product is off, you may notice tiny specks of residual base coat or glue. Take a high-grit, soft buffer (240-grit or higher) and lightly buff the nail surface in one direction to smooth the texture. Avoid aggressive buffing, which thins the natural keratin layers.
Step 9: Cleanse and Deeply Hydrate
Wash your hands thoroughly with lukewarm water and a gentle soap to remove all chemical residues. Immediately massage a generous amount of jojoba-based cuticle oil into your nail beds, cuticles, and under the nail tips. Follow with a rich, ceramide- or shea butter-infused hand cream.
How to Remove Acrylic Nail Extensions at Home
Acrylic nail removal at home requires patience because the polymer structure is dense.
┌─────────────────────────────────────────────────────────────┐
│                 ACRYLIC REMOVAL ESSENTIALS                  │
├─────────────────────────────────────────────────────────────┤
│ 1. Clip down the length.                                    │
│ 2. File away at least 50% of the acrylic bulk.              │
│ 3. Soak in pure acetone for 20 minutes.                     │
│ 4. Clear gummy residue with an orangewood stick.            │
│ 5. Re-soak remaining stubborn patches for 10 minutes.       │
└─────────────────────────────────────────────────────────────┘
- Debulk Thoroughly: Acrylic sets are often built thick for apex strength. Spend adequate time filing down the upper half of the acrylic with a 100-grit file before applying acetone.
- Foil Wrap vs. Soak Bowl: While foil wraps preserve skin moisture better, the bowl method is also common for acrylics. If using a bowl, place a small glass bowl of acetone inside a larger bowl of warm water (a double-boiler style setup without direct heat) and submerge only your fingertips.
- Wipe as You Go: As the top layer turns gummy, wipe it away with an acetone-soaked paper towel, then continue soaking until the natural nail is completely clean.
How to Remove Gel Nail Extensions at Home
The correct method for gel nail extension removal depends on whether you have soft gel or hard gel.
Soft Gel / Gel-X Extensions:
Soft gels dissolve smoothly. After filing through the topcoat, a 15-minute acetone wrap will cause the extension to wrinkle, lift, and crumble away effortlessly.
Hard Gel / Builder Gel (Important Distinction):
- Hard gel is impervious to acetone. Soaking hard gel in acetone for hours will dry out your skin without dissolving the product.
- How to manage hard gel at home: If you must remove it yourself, file down the length and gently debulk the thickness using a 180-grit file. Leave a very thin, paper-like layer of hard gel over your natural nail rather than attempting to file it down completely to bare nail. This residual layer will grow out naturally without causing accidental file trauma to your real nail plate.
- For complete, safe removal of hard gel, visit an experienced nail technician who can use an electronic file (e-file) with precise depth control.
How to Remove Polygel Nails at Home
Polygel combines oligomers from hard gel with acrylic polymers. Because formulation ratios vary by brand, its reaction to acetone can differ:
- Check the Product Profile: Some hybrid polygels soften slightly in acetone after 20 minutes; others behave more like hard gel.
- File Down Most of the Volume: Trim the length and carefully file down approximately 70–80% of the polygel bulk using a 150/180-grit file.
- Attempt an Acetone Soak: Apply a saturated acetone cotton wrap for 15 minutes.
- Evaluate: If the product crumbles, gently push it away. If it remains rigid, switch back to careful hand filing to thin it down, leaving a thin base coat layer to grow out naturally rather than risking your nail plate.
Can You Remove Nail Extensions Without Acetone?
Many people search for how to remove nail extensions without acetone, often wondering if warm water, dish soap, or cuticle oil can loosen the enhancements.
┌─────────────────────────────────────────────────────────────┐
│                 NON-ACETONE REMOVAL REALITY                 │
├────────────────────────────┬────────────────────────────────┤
│ Safe Non-Acetone Method    │ Ineffective / Risky Methods    │
├────────────────────────────┼────────────────────────────────┤
│ • Controlled manual filing │ • Soaking in warm soapy water  │
│   (leaving a thin base     │   (only works if already       │
│   layer intact)            │   severely lifting)            │
│ • Natural grow-out with    │ • Prying with floss or tips    │
│   regular tip trimming     │ • Peeling or chewing off       │
└────────────────────────────┴────────────────────────────────┘
- Warm Soapy Water & Oil Soaks: This method only works on press-on nails held by light water-soluble glue. Professional salon-grade acrylic, gel, or polygel bonds will not dissolve in water, oil, or soap.
- Controlled Hand Filing: If you are allergic to acetone or do not have it available, the only safe non-chemical method is slow, controlled manual filing. File the extension down to a very thin, flush layer and allow that remaining layer to shed naturally as your nail grows.
- Never Pry: Attempting to wedge dental floss, nail tips, or cuticle sticks under an unyielding extension to pop it off will rip off the dorsal keratin layer of your natural nail, leading to onycholysis (separation of the nail from the nail bed).
How to Remove Nail Extensions Without Damaging Natural Nails
Keep this reference checklist in mind whenever performing DIY removal:
| DO | DON’T |
| Do take your time (plan for 30–45 minutes). | Don’t rip, peel, snap, or bite off lifting extensions. |
| Do use 100% pure acetone for soak-off systems. | Don’t use dull or non-nail tools (metal knives, craft blades). |
| Do protect your skin with petroleum jelly or balm. | Don’t force or scrape stuck product aggressively. |
| Do file parallel to the nail, avoiding heavy downward pressure. | Don’t over-file or buff the natural nail down to redness. |
| Do re-soak stubbornly bonded product in 5-minute intervals. | Don’t use high heat near flammable acetone. |
| Do apply cuticle oil and moisturizer immediately after. | Don’t apply another heavy extension set immediately if nails feel sore. |
What Happens If You Peel Off Nail Extensions?
Peeling or tearing off a nail extension creates mechanical trauma. Artificial enhancements form a strong chemical adhesion to the microscopic grooves of your dorsal nail plate.
       [Extension Layer]
  ═══════════════════════════  ◄── Chemical Adhesive Bond
       [Dorsal Nail Plate]     ◄── Peeling rips these vital keratin layers
       [Intermediate Layer]
       [Ventral Layer]
  ───────────────────────────
       [Nail Bed (Living Tissue)]
When an extension is forcibly ripped away, it takes layers of natural keratin with it. This can result in:
- Extreme Thinning & Weakness: Nails become flexible, soft, and prone to bending backward.
- Surface Pitting & White Patches: Known as pseudoleukonychia, these chalky white spots represent micro-fractures in the nail plate.
- Longitudinal Splitting: Nails develop deep vertical splits that tear into the sensitive quick.
- Onycholysis & Infections: If the nail plate pulls away from the pink nail bed, it creates a dark, moist pocket where bacteria (Pseudomonas) or fungi can colonize.
- Hypersensitivity: Hot water, touch, and everyday tasks can become physically painful until new nail tissue grows in.
What to Do After Removing Nail Extensions: Recovery Routine
Once your extensions are off, your natural nails need dedicated care to re-establish their moisture balance and lipid barrier.
┌─────────────────────────────────────────────────────────────┐
│                 POST-REMOVAL RECOVERY STEPS                 │
├─────────────────────────────────────────────────────────────┤
│ 1. Daily Cuticle Oil (Jojoba + Vitamin E) twice a day.      │
│ 2. Deep nightly hand creams to counter acetone dryness.     │
│ 3. Keep free edges short and neatly rounded with a file.    │
│ 4. Take a 1- to 2-week polish break if nails feel soft.     │
│ 5. Wear rubber gloves when washing dishes or using cleaners.│
└─────────────────────────────────────────────────────────────┘
- Rehydrate with Penetrating Oils: Apply pure jojoba oil or a vitamin E cuticle blend twice daily. Jojoba oil molecules are small enough to penetrate the nail plate’s keratin layers, restoring flexibility and preventing brittleness.
- Seal with Heavy Creams: Lock in the oil with a ceramide-rich hand cream before bed.
- Keep Length Short: Freshly uncovered nails are accustomed to the rigid reinforcement of extensions. Keep your natural tips trimmed short and softly rounded for 1–2 weeks to prevent accidental snagging and tears.
- Use a Keratin or Peptide Strengthener: If your nails feel slightly thin, apply a breathable, formaldeyhde-free nail hardener or keratin treatment coat.
- Protect Against Water and Chemicals: Keratin absorbs water like a sponge; frequent expansion and contraction weakens recovering nails. Always wear rubber gloves when washing dishes or handling household cleaning products.
How Long Does Nail Extension Removal Take?
A safe at-home nail extension removal typically takes 30 to 50 minutes:
- Trimming and Pre-Filing: 10 minutes
- Acetone Soaking Period: 15 to 25 minutes
- Gentle Scraping & Residue Buffing: 5 to 10 minutes
- Washing & Hydration Aftercare: 5 minutes
Never rush the process. If you only have 10 minutes before heading out, wait until you have enough uninterrupted time to let the solvent do the work naturally.
When Should You Get Professional Nail Extension Removal?
While DIY removal is practical for standard, undamaged soak-off extensions, some scenarios call for a professional nail technician:
- You Have Hard Gel Extensions: Because hard gel must be removed entirely with manual or e-filing, professional control ensures your natural nail plate remains unharmed.
- Severe Lifting or Trapped Moisture: If water has seeped under a lifted extension and you notice a greenish, yellowish, or dark discoloration, seek professional salon attention immediately to avoid sealing in an infection.
- Pain, Redness, or Swelling: If the nail bed is throbbing, tender, or inflamed, avoid acetone and let a professional assess the condition.
- Cracked Natural Nails Under the Extension: If the extension broke mid-nail and fractured your natural nail bed underneath, DIY soaking can cause extreme burning and further tissue tearing.
- Uncertainty About the Product: If you are unsure what chemical system your technician used, an experienced salon professional can diagnose the material and remove it safely.
If you are looking for safe, gentle, and hygienic nail extension removal in Hyderabad, the certified technicians at Papa Bear Salon provide specialized removal, nail plate restoration, and nourishing manicures to keep your natural nails strong and healthy.
Before deciding when to take off your current set, it also helps to understand how long nail extensions last so you can schedule maintenance, fills, or removals at the right time.
Frequently Asked Questions
Can I remove nail extensions at home?
Yes, you can safely remove soak-off extensions like acrylics, soft gels, and some polygels at home using 100% pure acetone, a coarse file, foil wraps, and a gentle cuticle pusher. However, hard gel extensions must be filed down professionally.
How do you safely remove nail extensions?
Trim the length, file away the glossy topcoat and bulk product, protect your skin with petroleum jelly, wrap the nails in acetone-soaked cotton and foil for 15–20 minutes, and gently slide off the softened product with a wooden stick without scraping hard.
Can nail extensions damage natural nails?
Nail extensions themselves do not inherently damage natural nails when applied and maintained correctly. The majority of nail damage occurs during improper, forceful removal, such as ripping, peeling, or over-filing the natural nail plate.
Can I remove nail extensions without acetone?
Standard water and oil soaks cannot dissolve professional acrylic or gel bonds. The only safe way to remove extensions without acetone is to gently file down the bulk of the artificial layer and leave a paper-thin base layer to grow out naturally with regular trimming.
How long does it take to remove nail extensions?
A thorough, non-damaging at-home removal takes approximately 30 to 50 minutes. Rushing the process increases the likelihood of scraping or tearing your natural nail.
What happens if you peel off nail extensions?
Peeling off extensions strips away the upper protective keratin layers of your natural nail plate. This leads to immediate thinning, surface roughness, white patches, sensitivity, painful splits, and potential nail bed separation (onycholysis).
How do I strengthen my nails after removing extensions?
Apply jojoba-based cuticle oil twice daily, use a rich moisturizing hand cream, keep your natural nails trimmed short to prevent bending, apply a restorative keratin treatment, and wear protective gloves during household chores.
Final Takeaway
The safest way to remove nail extensions at home is through patience, moisture protection, and the right method for your specific nail system. Never force, pry, or scrape hard against your natural nail plate. When the product is stubborn, another 5-minute soak is always better than applying force.
When dealing with hard gel, severe product lifting, or damaged nail beds, visiting a professional salon ensures your natural nails stay healthy, intact, and ready for your next manicure.